RECIPE BY: Larissa Sewell, Masterchef 2023

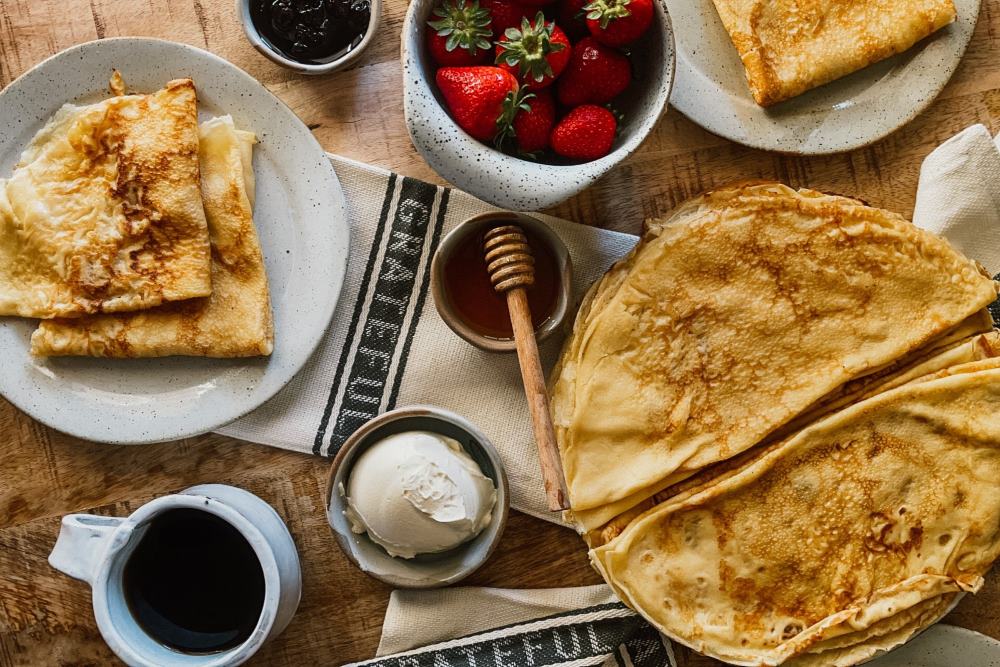
The blinchiki, a buttery, rich Eastern European Crepe, had been painstakingly swirled around in a cast iron pan and cooked to perfection, anticipating our arrival. It doesn’t matter how high that stack of thin, buttery and slightly lacy crepes were – we would polish off every single one of them.
This recipe is as close to my Babushka’s Blinchiki that I could create. She didn’t follow a recipe, it was always a little bit of this, a little of that, until it looks like this and feels like that…
These are so simple to bring together, take a little patience to master the skill of the skillet swirl, but oh my goodness, they’re worth every bit of effort.
Ingredients
- 1 cup milk
- 1/2 cup lukewarm water
- 2 tbs melted butter or neutral flavoured oil
- 2 eggs
- 1 cup plain flour
- 1 tbs sugar
- 1/2 tsp of salt
- Extra butter to fry
Method
- The quickest and easiest way to bring this mix together is to throw all of the ingredients in a blender and blend until smooth. If you’re not using a blender, whisk together wet ingredients, and then gradually add to the dry ingredients while whisking vigorously to avoid any lumps. In a perfect world scenario, you’d leave the batter for 15-30 mins before using (but truthfully, I never do). You want your batter to be a smooth, pourable consistency, slightly looser than thickened cream.
- Heat a skillet on medium to high heat and melt a little bit of butter in the pan. I find it’s easiest to cut a stick of butter off of a block and use it to swipe across the pan, kind of like a child’s glue stick.
- With the pan on an angle, ladle in some batter into the pan, whilst simultaneously swirling the pan, so that the batter thinly coats the whole base of the pan. You want to be quick with this step, and it may take a few tries to get the ratio and ‘swirl’ right. I use around 1/3 cup for a 30cm pan – but ideally this needs to be as thin as possible (you can pour off any excess if needed).
- Place the pan over medium heat and wait for any little bubbles to rise and pop on the surface of the Blinchiki. You’ll know when it’s ready to flip because edges will start coming away from the pan slightly, the underside should be taking on a lacy golden pattern, and the top should be dry/set.
- Once flipped, leave on the pan for another 20 or so seconds and turn out onto a plate
- I like to fold my Blinchiki into halves when plating, so that they’re half moons. I find they’re easier to serve and separate this way. If your Blinchiki are sticking together in the stack, brush a little melted butter between them.
For more information: