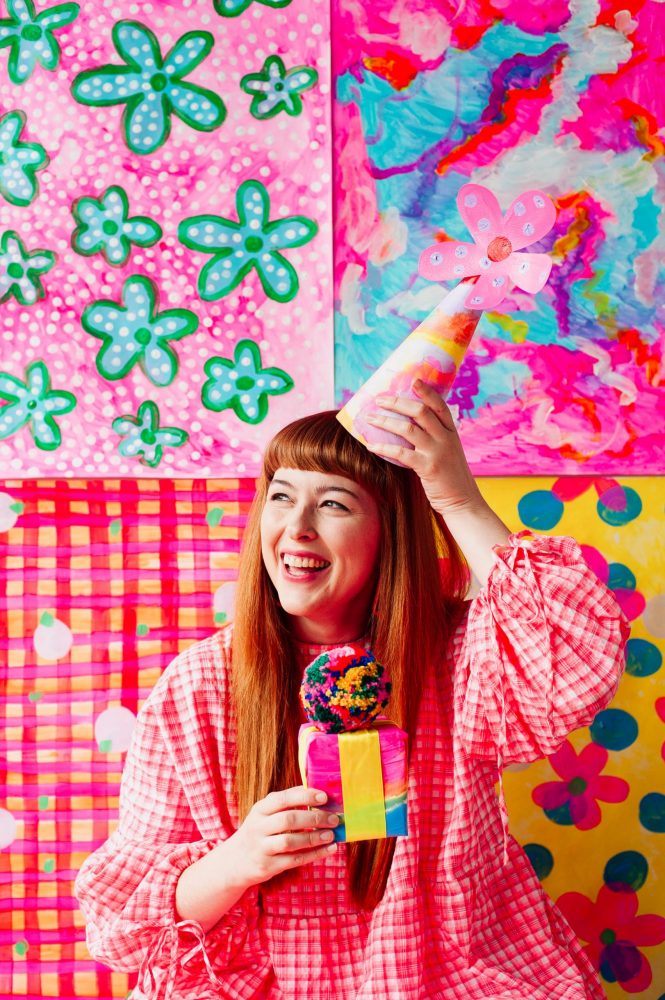
We’re in party mode here at KIDDO so we asked our favourite tinsel maven and artist Rachel Burke to show us how she makes her colourful DIY party hats. They’re fun and easy to create, making them the ultimate activity for your child’s next birthday party – and great props for pictures!
Before the cake comes out, follow Rachel’s how-to below on how to get the little ones together to make their very own personalised party hat.

Materials
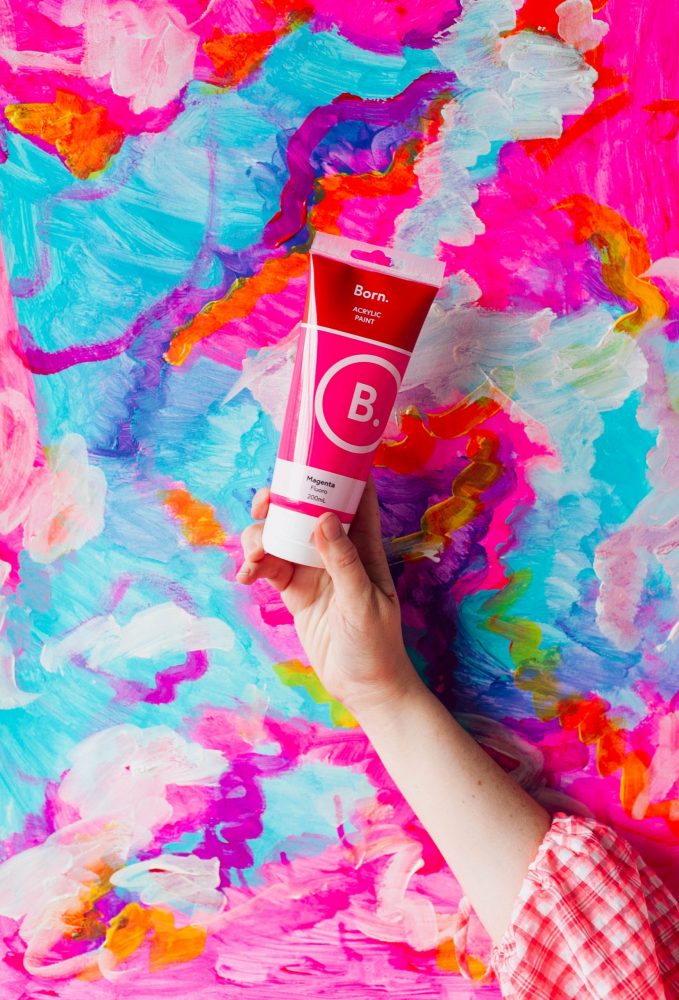
All your supplies can be easily found at your local Officeworks or nearest craft store. What you’ll need:
- 2 x A4 pieces of coloured paper per party guest
- 4 x coloured paints
- Paintbrushes
- Mat
- Scissors
- Glue stick
- Sticky tape
- Ribbon
How-To
Step 1: Prepare your space
Depending on the size of your party, you’ll need a big space that’s setup for creating. Lie an A4 paper piece on a surface you’re not afraid to get messy on, or place an art mat down to protect your working surface.
Get your four paints ready and choose four colours that go together. Rachel’s recommends pink, orange, purple and yellow for a bright mix of colours.
Step 2: Paint your hats design
Start painting your design.
When creating an abstract pattern, have a happy day dream and attempt to express those thoughts through her paintbrush! Tell the kids to be free with their paint swooshes and have fun with the process. Encourage them to mix, dab and swirl colours around – anything goes!
Once finished, set the paper aside to dry for at least 20-30 minutes.
Step 3: Cut out the flower
In the meantime, have the kids cut out a flower design from the second piece of paper. It can be as big or small as they like.
If you want to streamline this process, you could also pre-prepare the flowers and get the party to skip straight to step 4.
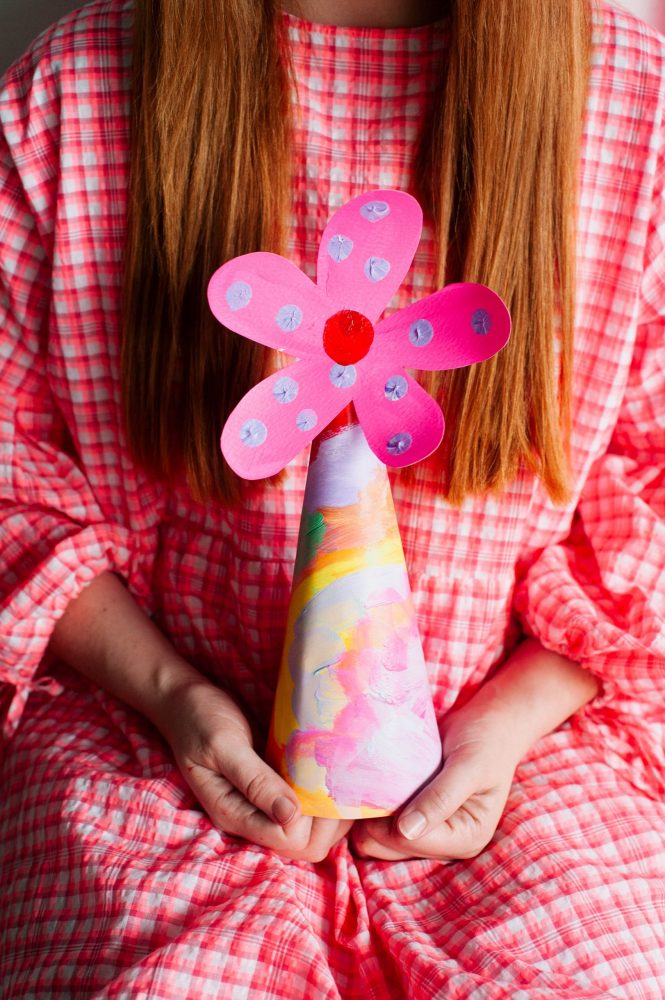
Step 4: Paint your flower
Paint a bold colour on the flower with a circle in the middle. Once dry, you can also add some spots by placing a small amount of paint tip on your finger and dabbing it across the paper.
Step 5: Assemble the cone
Make a cone shape with the dried A4 paper, sticking the sides together with a glue stick.
Step 6: Add on your flower
Using tape, stick the flower on the top of the cone.
Step 7: Attach the elastic
Finish the party hat off by using a sticky tape to attach a ribbon to fit it around the jawline. Rachel recommends letting the kids choose from a variety of ribbons but encouraging the adults in charge to do this step, it could get tricky trying to fit it to size!
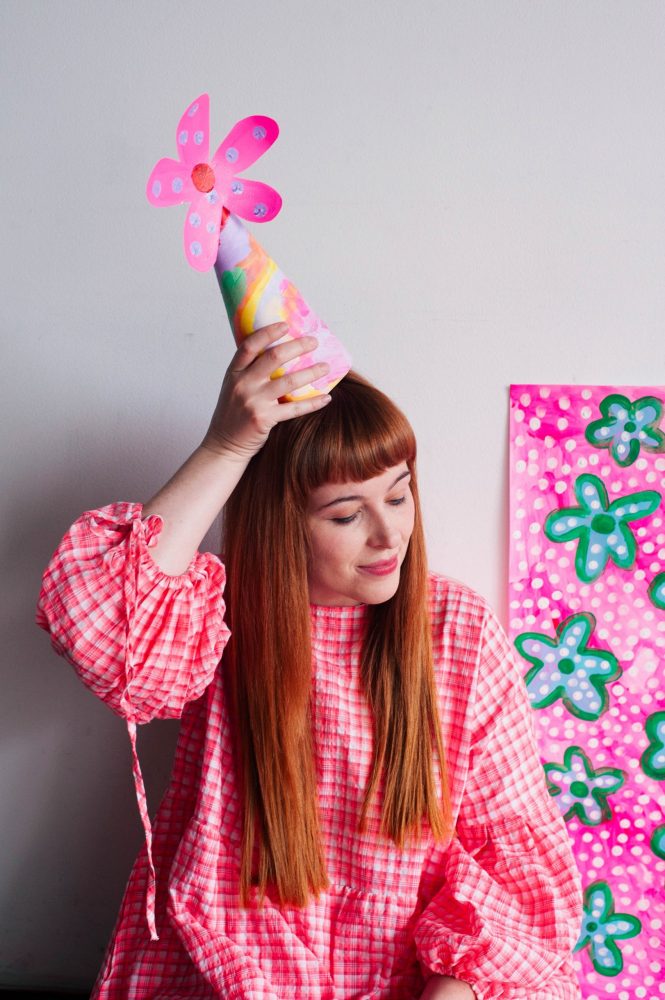
Voilà! The DIY party hats are complete and ready in time for everyone to sing happy birthday.
Rachel Burke is inspired by a love for craft materials, transforming the mundane into the magical. We think these party hats are such a good way to get the kiddos exploring the magic of creating and letting their imagination run free.
Head into Officeworks before your next birthday party on the calendar for everything you need to bring these hats to life!