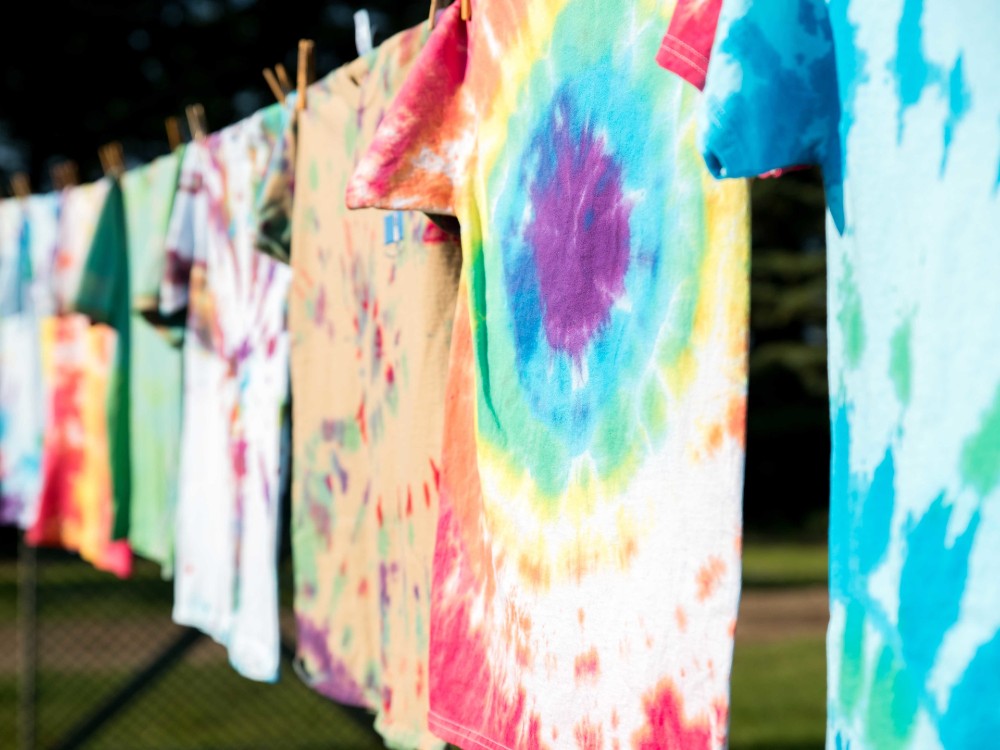
TIE-DYE is back and you can DIY
Not sure whether to be dismayed or elated that tie dye is back in fashion to be honest, but at the very least, tie dye is a great craft activity for the kids and is easy to DIY if you know what to do.
You don’t have to stop at T-shirts, you can do socks and shorts and basically anything that you want to look like its been directly time warped from a psychedelic hippy festival and into your drawer – the only limitation is your creativity.
Just in case you love the look of tie dye but cannot bring yourself to get into the dyes with the kids, we’ve also linked some cool tie dye styles you can buy this season.
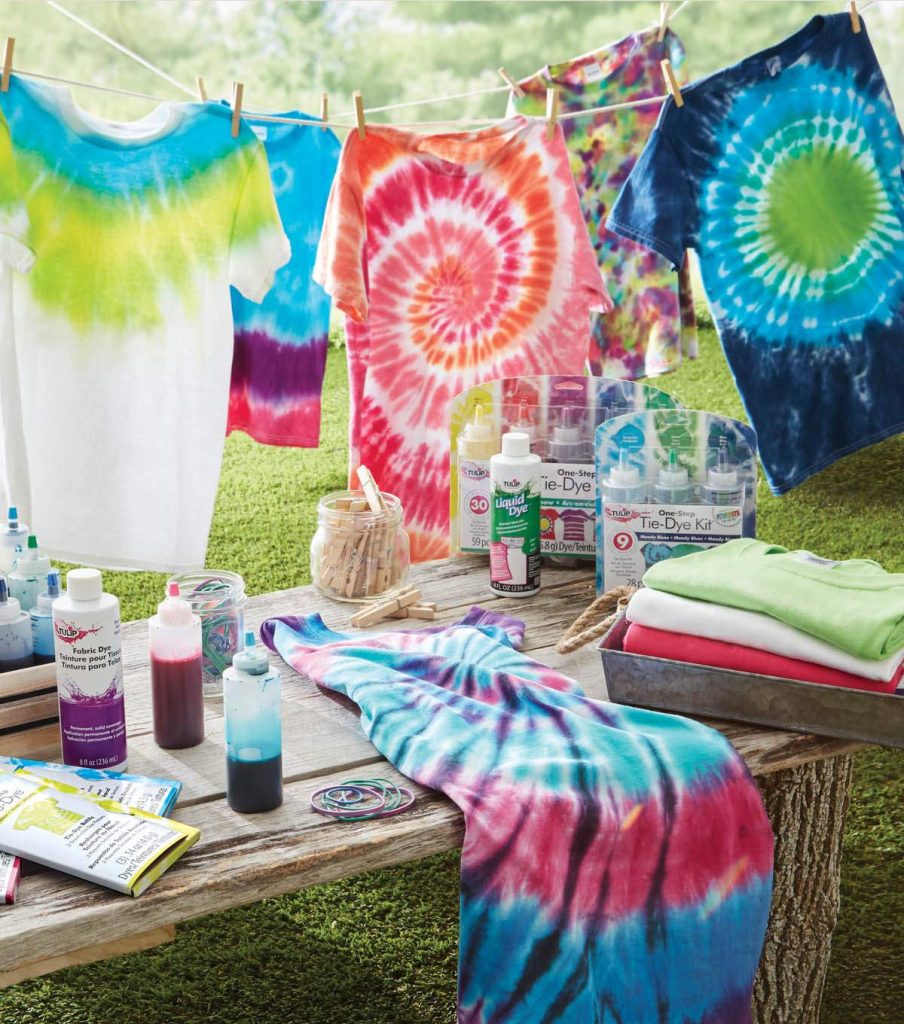
Supplies Needed:
- White shirt
- Plastic tarp
- Bucket
- Glass jar with a tight-sealing lid
- Rubber gloves
- Measuring spoon
- Fibre-reactive dye powder
- Soda ash fixative
If you can’t find these materials, you can also buy handy tie dye kits from Officeworks or Spotlight and follow the steps below for banding your choice of design.
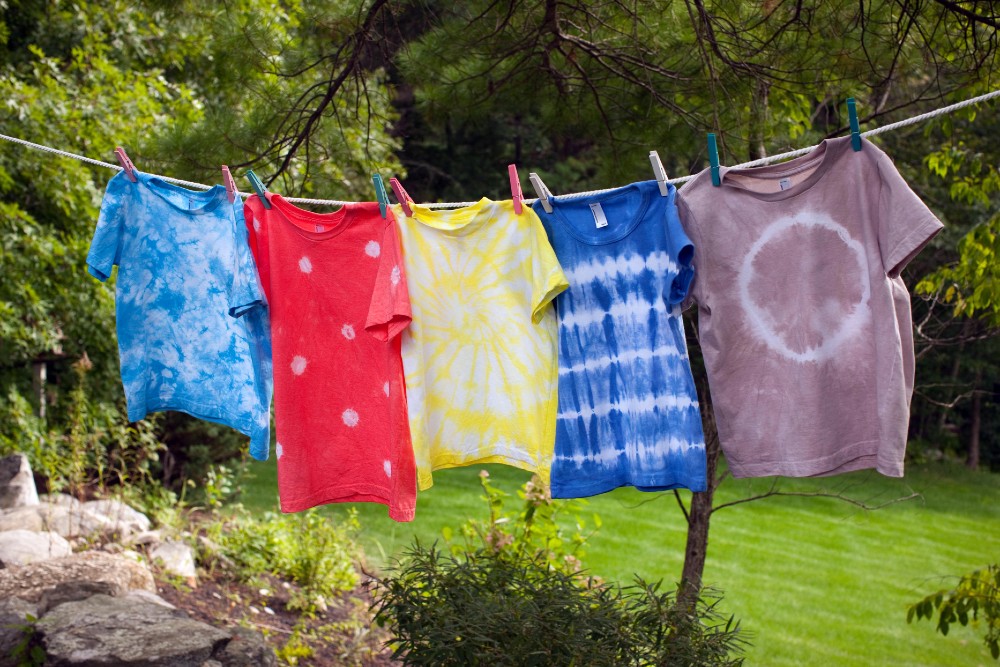
HOW TO TIE DIFFERENT DESIGNS FOR THE TIE DIE LOOK YOU WANT
Nebula design
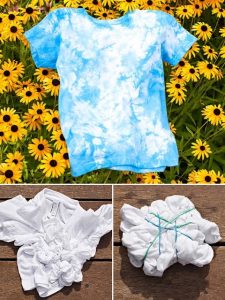
Even very young kids can help make this cosmic tie-dye design.
HOW
- wet the shirt and lay it flat
- with your fingers, scrunch and wrinkle the fabric, gathering it into a tight disk
- wrap several rubber bands around the disk
- the tighter you bind it, the more white there will be in the final shirt
Diagonal stripe design
If you’re looking for a unique tie-dye shirt pattern, consider these multi-coloured diagonal stripes.
How
- lay the T-shirt flat and fold it accordion-style from the bottom corner
- once folded, wrap with rubber bands every 1 to 2 inches
Polka Dot design
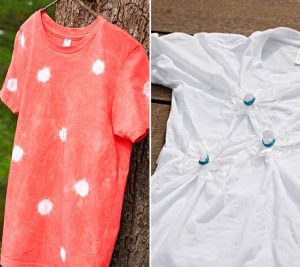
To create a polka dot tie-dye look
How
- gather a handful of plastic beads or dried beans
- cut plastic wrap into squares that are about four times larger than the beads or beans
- place a bean or bead inside the shirt, then place a piece of plastic wrap on top of the shirt
- working with just the front layer of the shirt, wrap a rubber band tightly around the plastic and shirt-covered bead or bean, as shown
- repeat to make more dots. Wet the tee before dyeing it
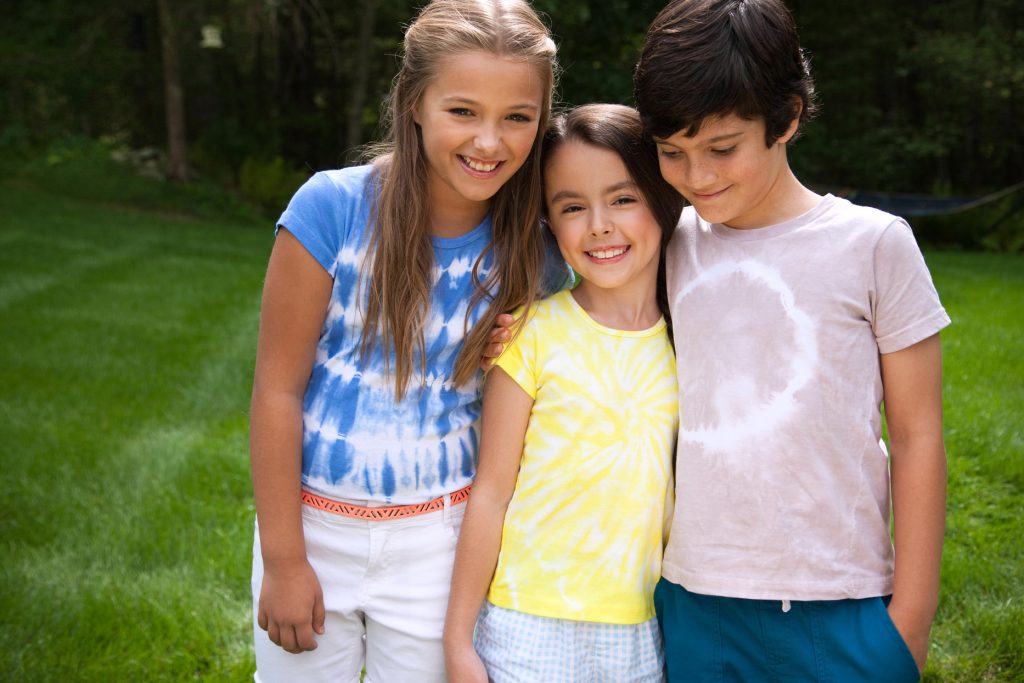
Sunburst design
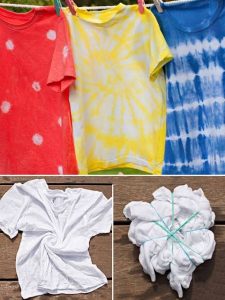
This spiral pattern (shown on the yellow shirt) will have you and your kids doing the twist.
- choose a spot in the centre of the shirt, between the armpits; with your thumb and forefinger, press down and twist the fabric clockwise
- try to keep the resulting folds at approximately the same height, creating a shape like a flat cinnamon roll
- wrap the shape tightly with rubber bands, as shown
- the tighter you bind the shirt, the more white there will be in the design
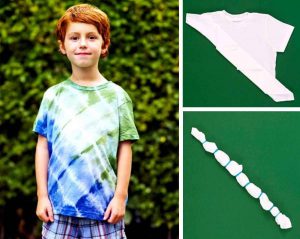
Sailor stripe design
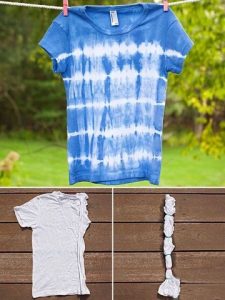
Tie-dye doesn’t always mean groovy spirals and circles; you can make straight-line stripes too.
How
- starting at one side, gather the T-shirt to create accordion-like folds that run vertically from neck to hem
- wrap a rubber band tightly around the shirt
- for more stripes in the tie-dye pattern, add rubber bands as shown
Ringer Design
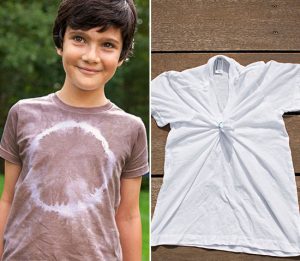
This circle shirt couldn’t be simpler to create.
How
- at the centre of the T-shirt between the armpits, pinch the top layer
- pull the fabric up into a point, letting the rest of the shirt fall away
- smooth the fabric down evenly from your pinched point, creating a skinny cone shape
- wrap a rubber band tightly around it
- move the rubber-banded ring up or down to make the circle smaller or larger.
- for a wider line, wrap a few bands around the same spot
- or create a bull’s-eye by adding bands above and below the first one
- wet the tee before dyeing it with this tie-dye technique
Next Steps
Mix Dye in Jar and Shake Shake Shake
Once you’ve tied the shirts you want to dye, protect yourself and your surface unless you want everything to be covered in splotches of messy dye!
Don a pair of rubber gloves and lay down a plastic tarp to protect your floor or grass.
Now, it’s time to mix up the dye.
Keep in mind that the dye will lose strength after an hour, so you don’t want to mix it up too far in advance.
Fill a 3L mason jar or container halfway with cool water.
Measure 2-4 teaspoons of fibre reactive dye powder into the jar. Fibre reactive dye creates a chemical reaction between the powder and the fabric, which means the dye will actually become part of the fabric, unlike dyeing with food colouring where the colour sits on top of the fabric.
Keep in mind that the more you add the more saturated the design will be.
Then, close the lid and shake your groove thing (and the jar) until the powder has totally dissolved.
Fill a large bucket with 3L of cool water, and pour the dye from your jar into the bucket and stir.
Add Water and Soda Ash
At this stage, fill the jar halfway back up with hot water and add six teaspoons of soda ash, which is a form of sodium carbonate: It’s what reacts with the fibre dye powder to actually dye the fabric. It’s fairly inexpensive and can be found at most craft stores.
Close the lid and shake again, then pour that mixture into the bucket and stir again.
If you can’t find these materials, you can also buy tie dye kits from Officeworks or Spotlight and follow the steps above for tying the designs you want.
Get dyeing
The shirt should be wet before you dye it, so if your shirt has dried out while you were mixing dye, get it wet again before putting it in the dye (the shirt should be totally wet with clean water to help the dye saturate and spread over the fabric).
Then, gently place the shirt in the bucket of dye and let it soak for one hour.
When time is up, put your gloves back on and rinse the shirt out either in the sink or in the backyard with the hose until the water runs clear.
Then remove the rubber bands to reveal your tie-dye designs before washing and drying the shirt (we recommend washing it by itself the first time).
Stand back and give yourself and the kids a round of applause! You’ve just created your own DIY tie dye!
Buy instead of DIY

Current season tie dye styles available at: