
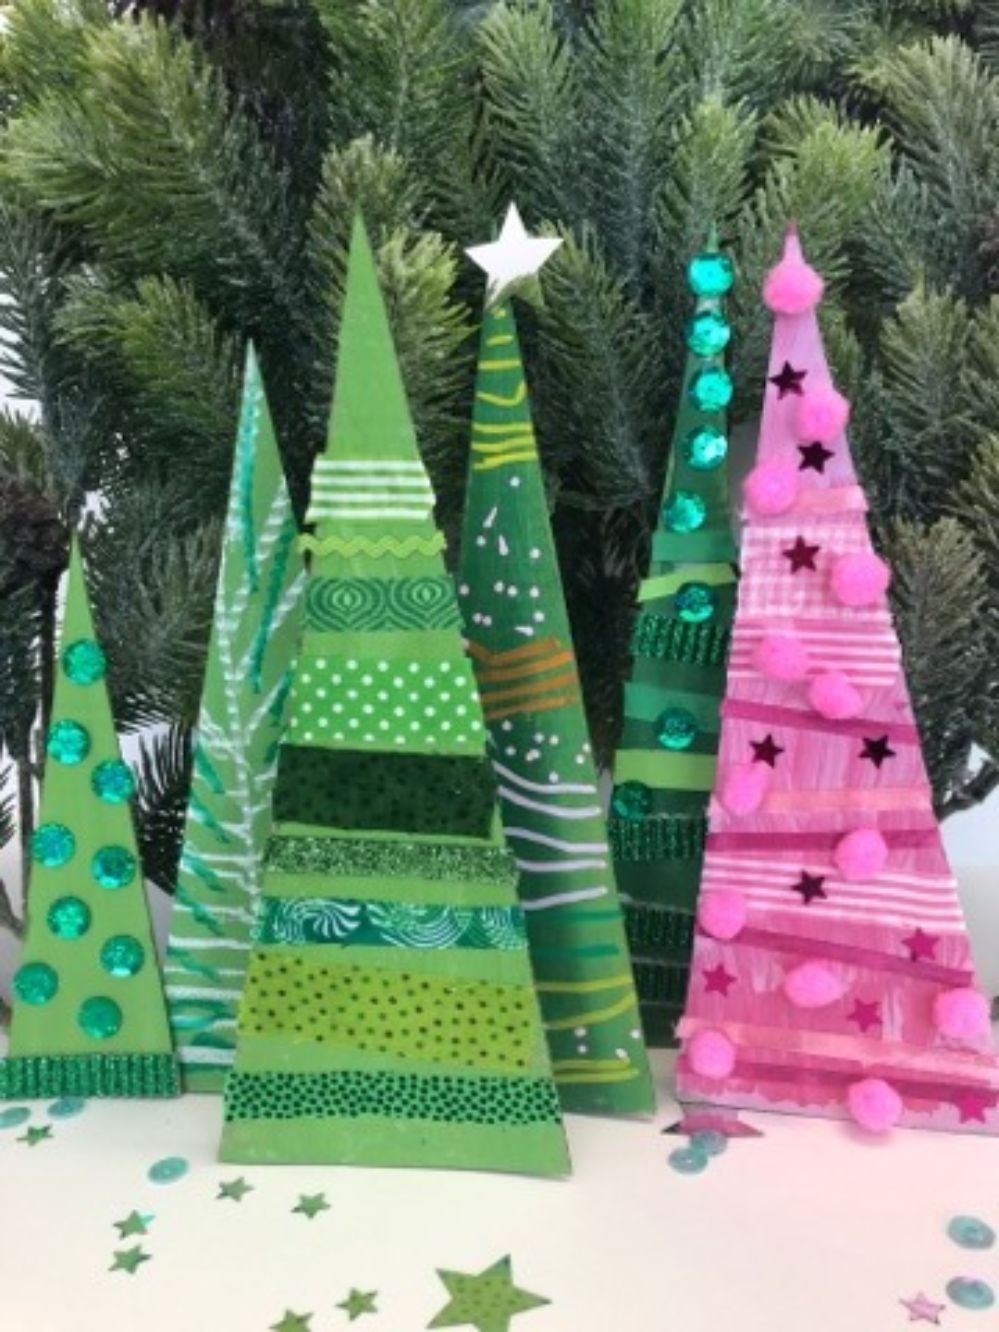
A forest of Christmas Trees By Little Picassos
This is a super fun activity to involve the whole family in as we start creating and decorating, ready for the festive season. Most of the materials can be found around your home; perfect to reuse, recycle and re create.
To create the Christmas Tree shape, ask the children to look at a Christmas tree (or a picture if yours is not up yet). Chat about the shape you can see (shape books are great if you have toddlers) and point out a triangle (with the point at the top).
Source some stiff card or cardboard pieces (recycled boxes are great).
You can choose what size you would like and how many trees to create, one big one or a forest of little Christmas trees.
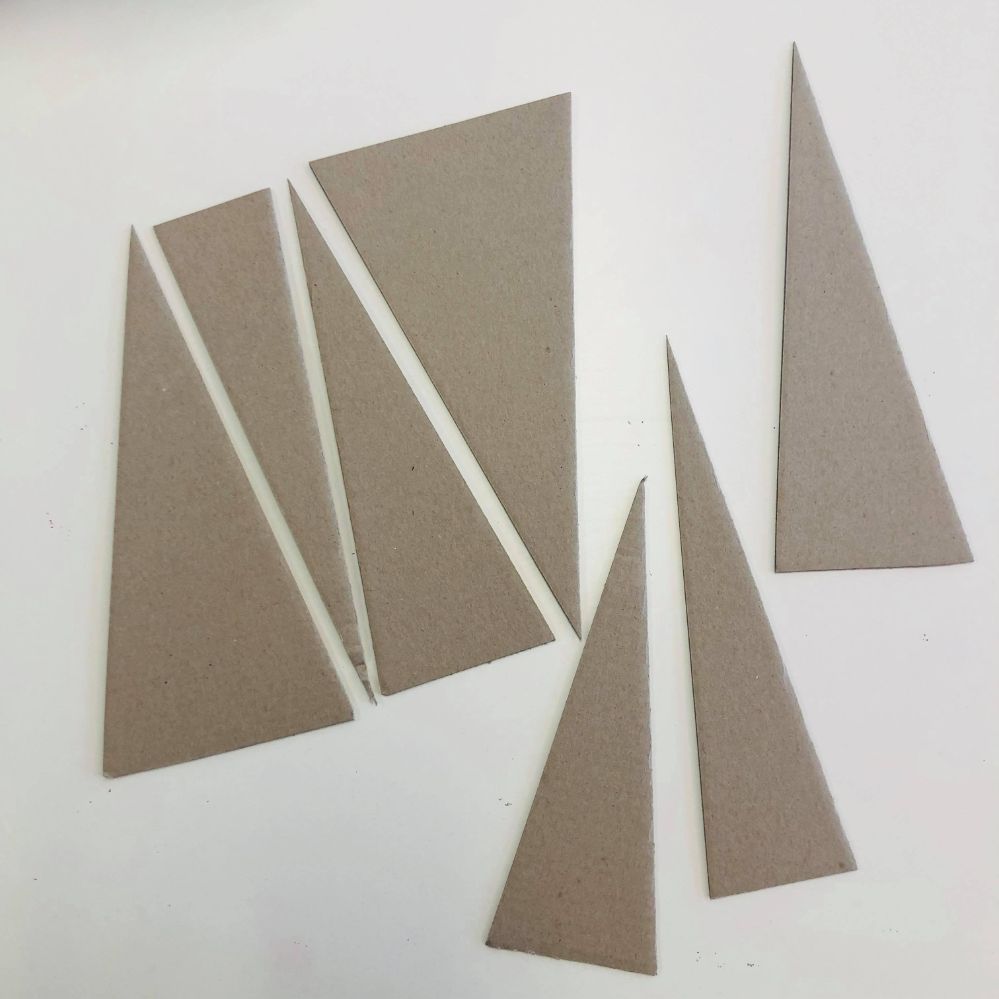
Step 1.
Cut the recycled card to a triangle shape, if making a forest of trees, cut a length of card first then a series of triangles. Decide if you will paint both sides (it also stops it from curling if the card is thinner) or one side if just to be viewed from the front.
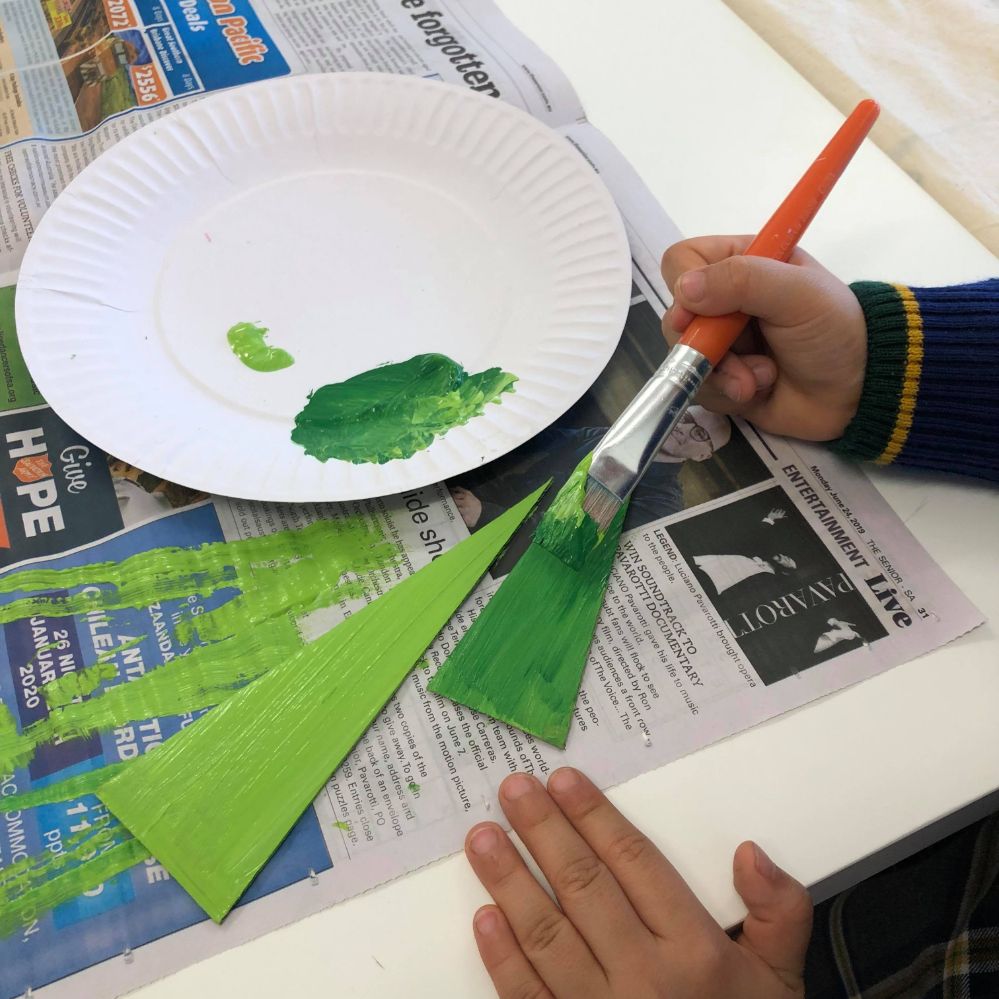
Step 2.
Decide on the tree base colour and paint up the tree(s). Acrylic paint is best as it is opaque and covers any printing or patterns underneath, but any paint you have at home will do.
We like to always use Primary paint colours so children understand the connection of colours and colour mixing, so in this case to make a green tree, we use yellow and blue, lots of yellow a lighter green, more blue, darker.
Art play Tip **
A trip to spotlight or Bunnings and choosing colour samples, colour ways or matching your decor at home is super fun and adds an excursion of colour into the mix, I love to see what colours children choose. Sample pots are very affordable and fun if we all get a personalised colour.
Step 3.
Begin painting, and if painting both sides you may need a little drying break in-between as you flip them over after they dry. You can keep this flat and even, or thick and textured, by adding more yellow or white to your brush as you go, you will get lots of variety in tone.
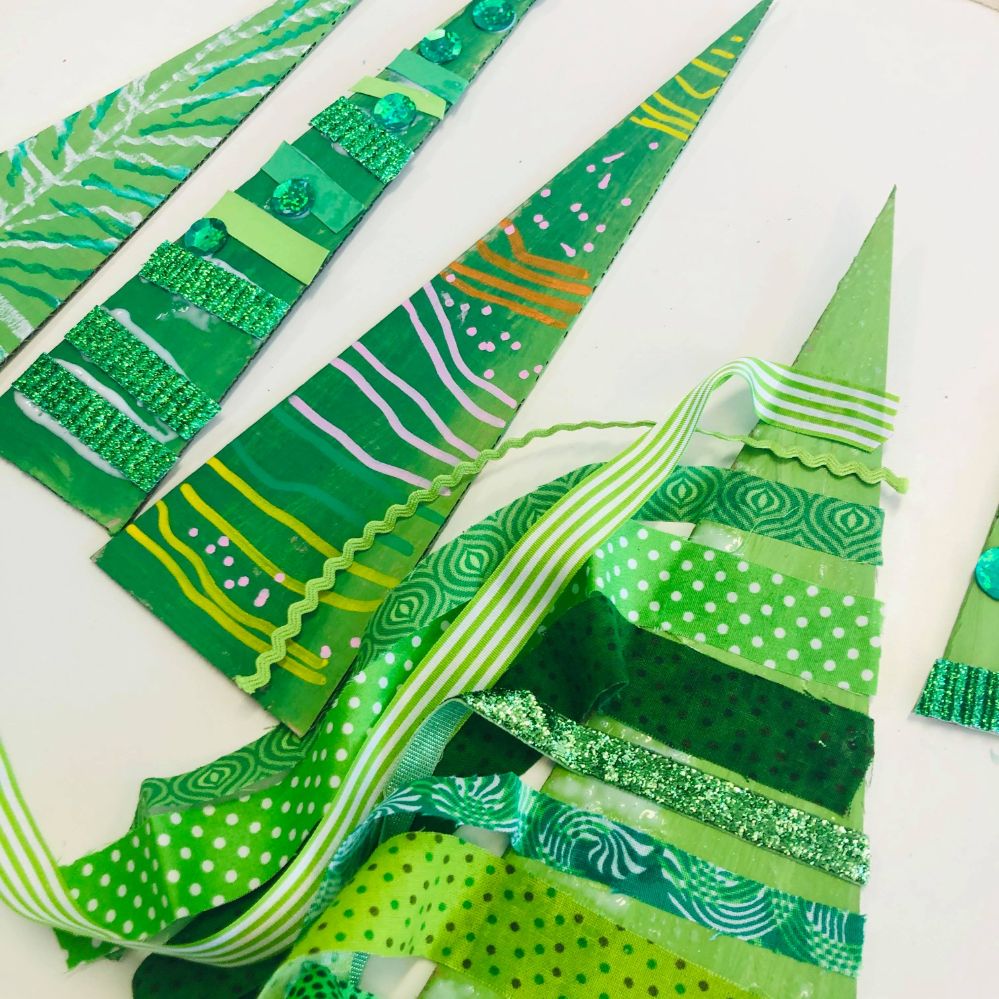
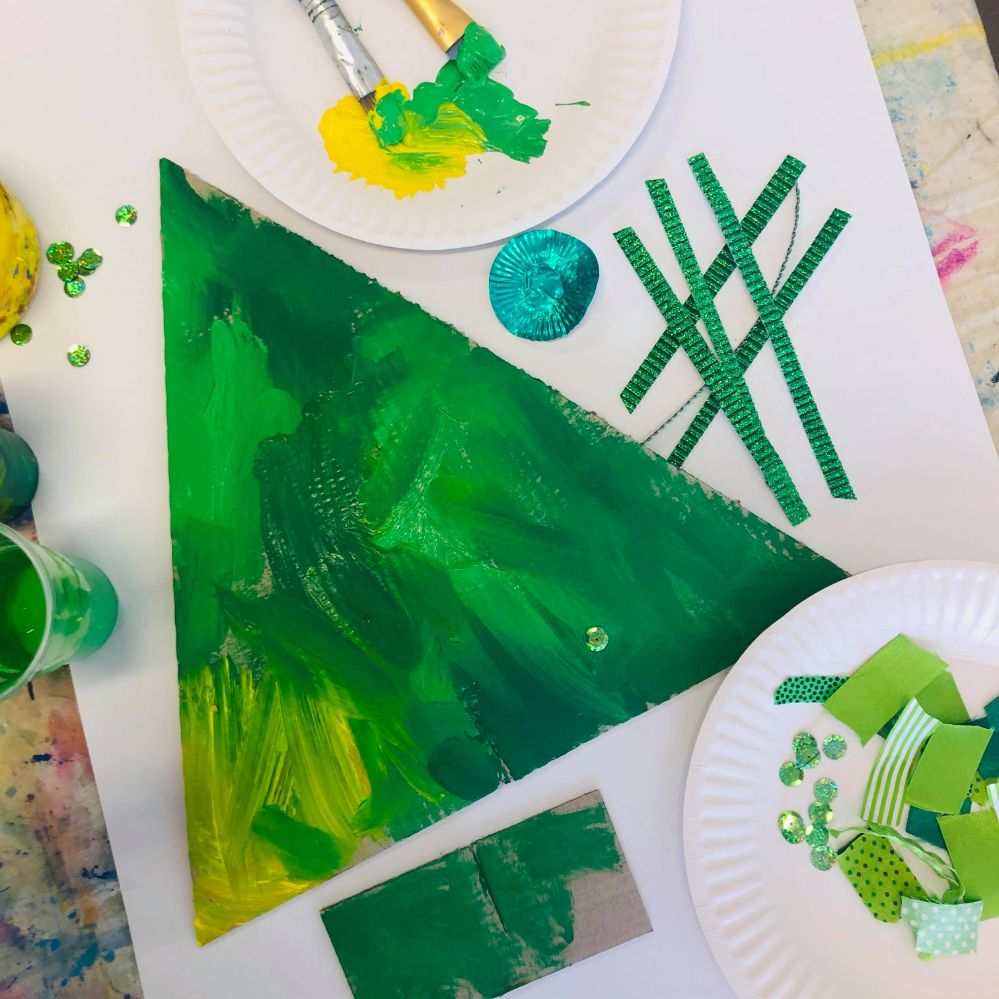
Step 4.
When the paint is dry now begin adding the layers of pattern and detail. Again, see what you can find, we have used pieces of colour pattern fabrics, sequins, ribbon, glitter paper, for collage, or oil pastels, pencil and pen for drawn designs. Each tree can have its own ‘theme’
Art Play Ideas:**
You could create a nature tree using all found materials from outside, or each child may choose a colourway (for example a pink tree and find all the materials that are pink) another idea could be a rainbow tree as a group work and everybody can find colours that can be adhered to that section of the rainbow – lots of possibilities.

Step 5.
Glue, draw, make or create each of the trees or tree, fun free play or planned action.
Step 6
Decide if you are having something on top of your tree – a star, angel, pompom, glue in place.
Step 7
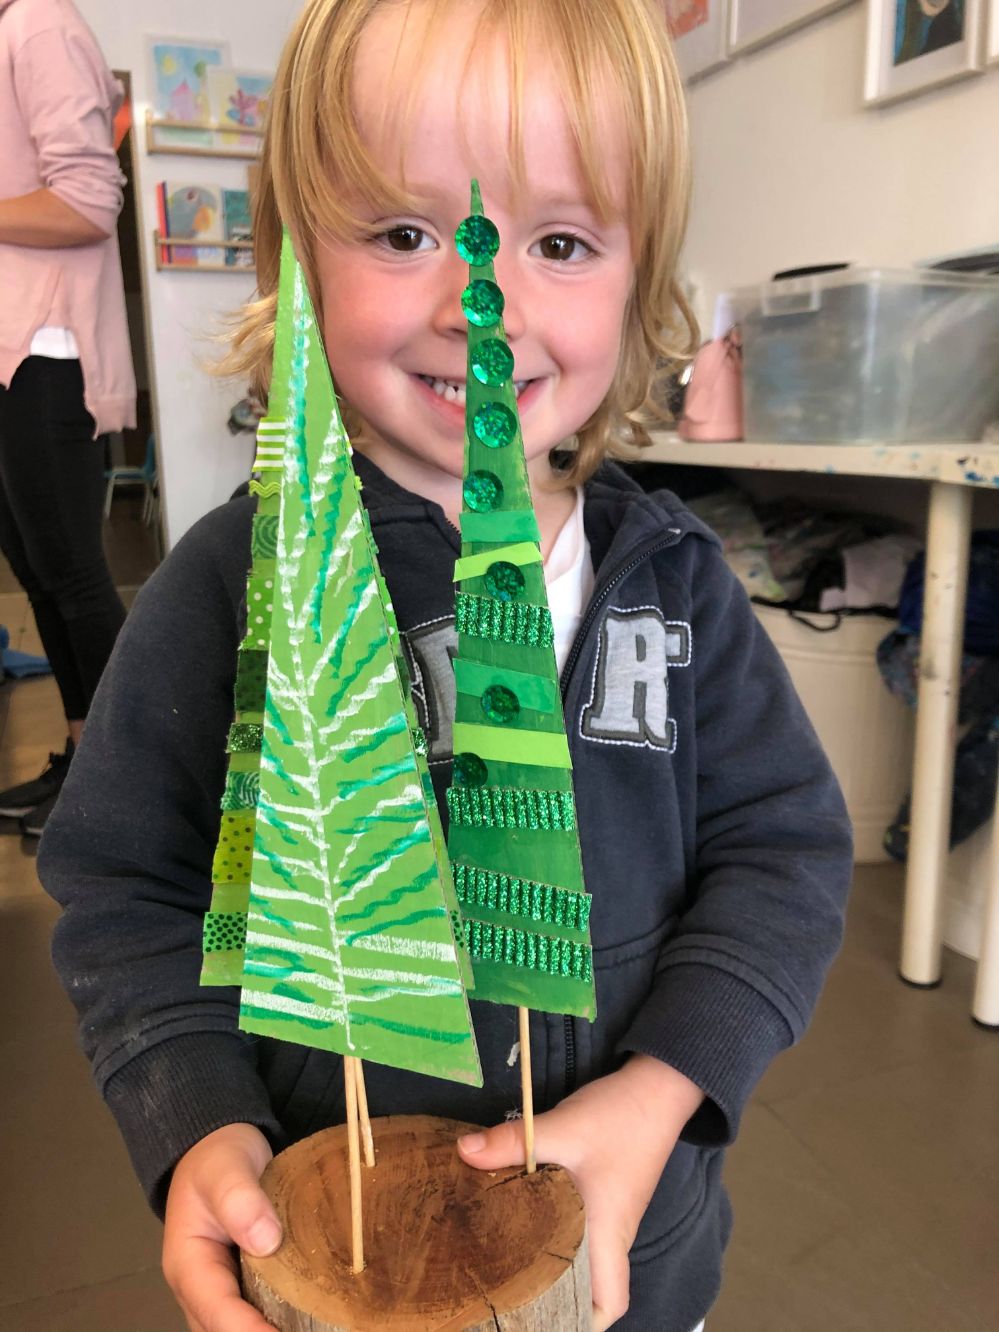
Make a stand for the tree. We have used several options here, the simplest and easiest is creating a rectangle of card and making a scissor cut at the base of the tree and one in the stand then insert, or you could make a right angle fold triangle from card and tape or hot glue to the back, or in our main image, with some pieces of tree trunk from a wood pile, we drilled holes in the base then inserted skewers, we used hot glue on the back of each tree triangle and attached to each skewer.
Display and enjoy, and Merry Christmas!!
Places like Spotlight, Lincraft etc, have a minimum cut of 20cm of the most delightful fabrics, laces, ribbons etc, an excursion to pick out and have small amounts cut to use on the trees is also an exciting idea to entertain and keep the children involved in the creating process.